Tiramisu Brownies
Easy
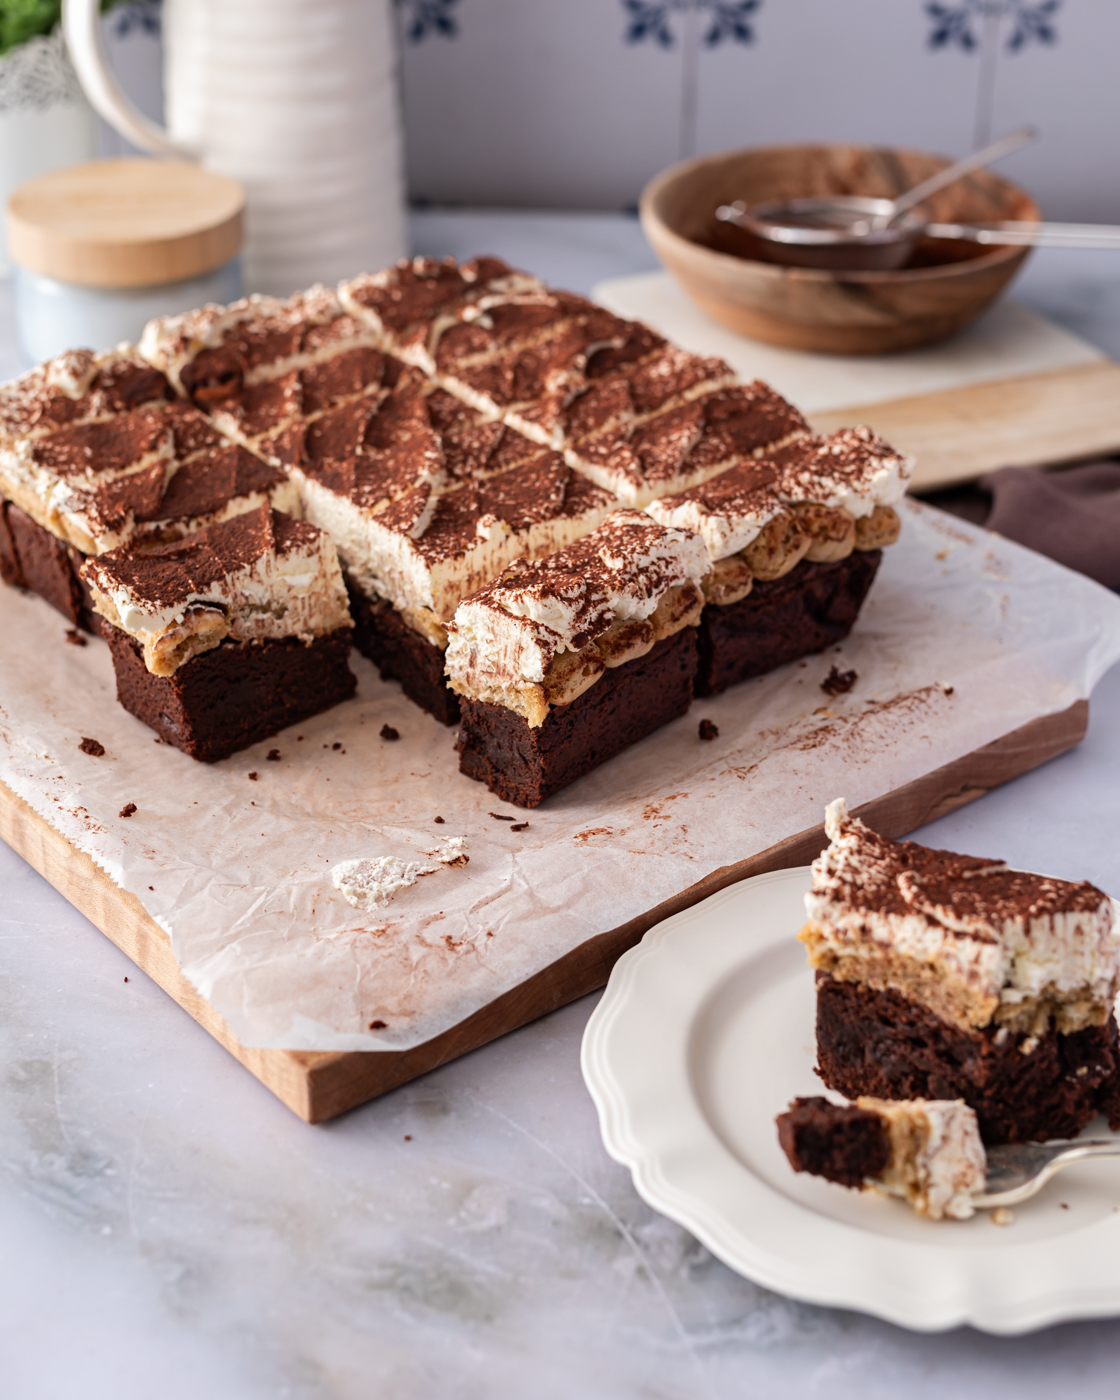
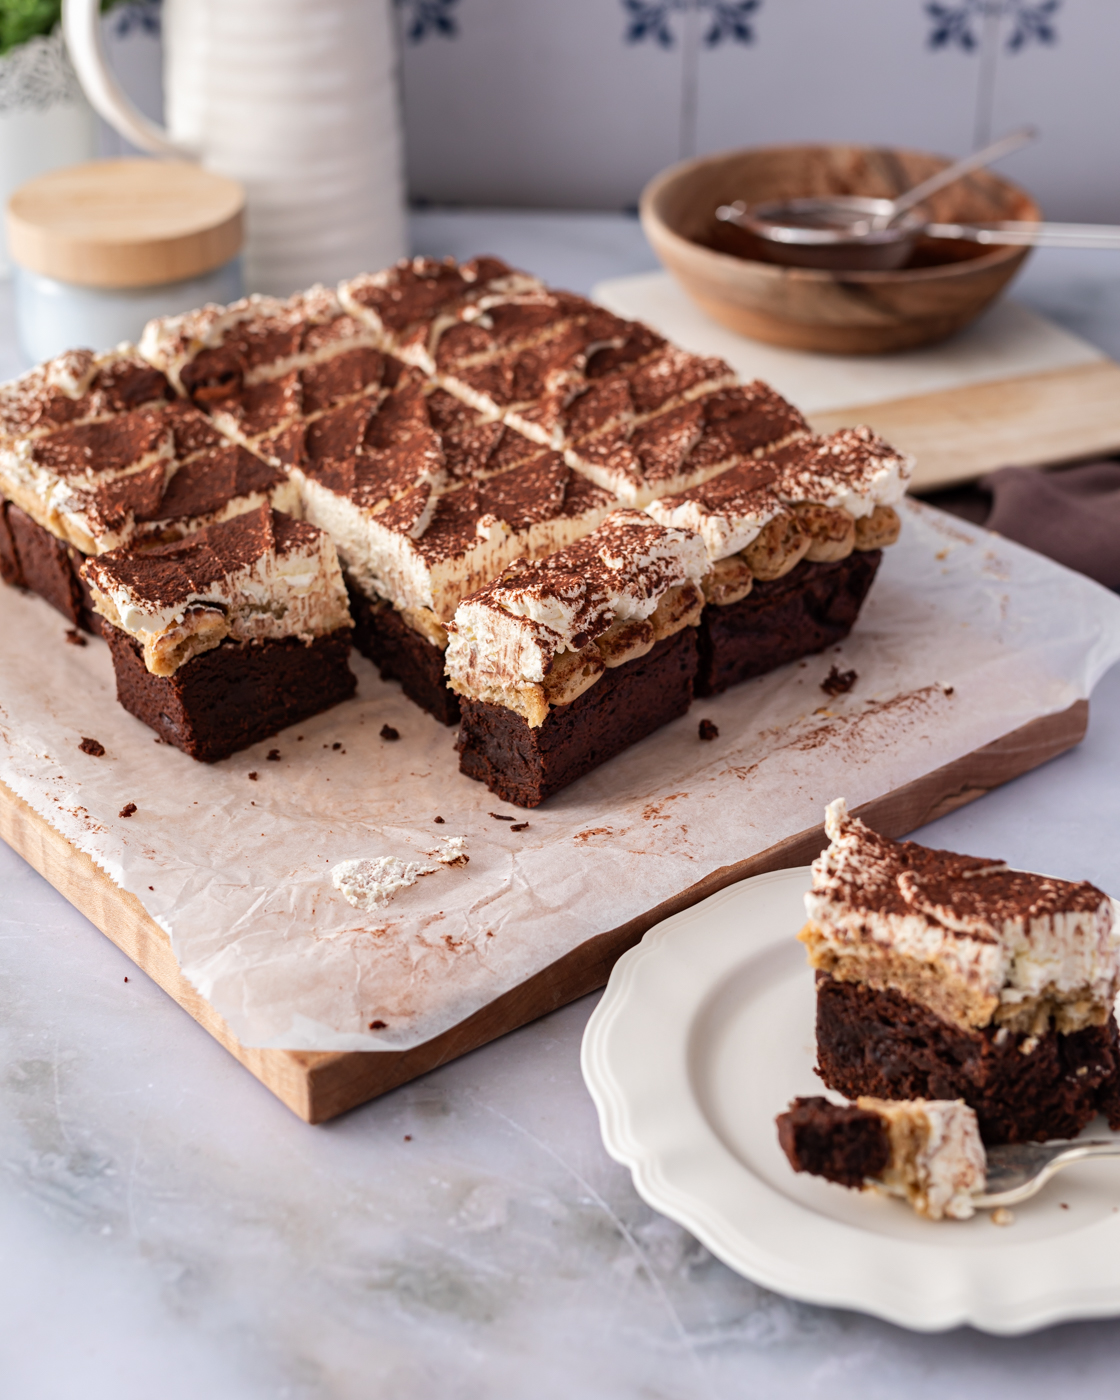
A tiramisu twist on a classic brownie. A dense and fudgy brownie base topped with coffee-dipped lady finger biscuits (and you can add a splash of brandy if you like) then covered with a whipped mascarpone and cream topping. And to finish, a good dusting of cocoa powder. This rich dessert is perfect when entertaining a crowd. The brownies do take a while to cool, so start early in the day, or bake the brownies the day before.
PREP IN
25 MIN
COOK IN
45 MIN
SERVE
16-18
Tiramisu Brownies
Easy
PREP IN
25 MIN
COOK IN
45 MIN
SERVE
16-18
Introduction
A tiramisu twist on a classic brownie. A dense and fudgy brownie base topped with coffee-dipped lady finger biscuits (and you can add a splash of brandy if you like) then covered with a whipped mascarpone and cream topping. And to finish, a good dusting of cocoa powder. This rich dessert is perfe
READ MORE
Ingredients
- 200g good quality 70% dark chocolate, roughly broken
- 100g good quality milk chocolate, roughly broken
- 225g unsalted butter
- 400g soft light brown sugar
- 4 eggs
- 1 tsp vanilla extract
- 150g plain flour
- 50g cocoa powder, sifted
- ½ tsp salt
- 250g mascarpone cheese, chilled
- 250ml double cream, chilled
- 2 tbsp caster sugar
- 250ml brewed espresso, cooled
- +- 1x (200g) pkt lady finger biscuits
- Cocoa powder, for dusting
FOR THE BROWNIES:
FOR THE TOPPING:
Method
- 1. Pour about 3 fingers of water into a medium sized saucepan, bring to a very gentle simmer over medium high heat, then reduce heat to maintain the gentle simmer.
- 2. Place both chocolates and the butter in a large heat-resistant bowl and set this over the saucepan of steaming water, making sure the bottom of the bowl doesn’t touch the water. Stir occasionally with a spatula until chocolate and butter have melted and the mixture is smooth.
- 3. Stir in the sugar then remove from heat and leave to cool at room temperature for about 15 minutes.
- 4. Pre-heat oven to 180°C / 160°C fan assisted and line a 23x23cm (9x9inch) square tin with parchment paper making sure to leave an overhang of the paper so that you can easily lift the brownies out of the tin.
- 5. Once chocolate mixture has cooled, pour into the bowl of your Kenwood stand mixer. With the mixer running on a low speed, add the eggs one at a time, making sure each is fully combined before adding the next egg, and finally, mix in the vanilla.
- 6. Add the flour, cocoa powder, and salt then mix until batter is smooth. Scrape down the sides of the bowl as needed.
- 7. Spoon brownie batter into the prepared baking tin then bake for 40-45 minutes.
- 8. Remove from the oven and leave to cool completely on a wire rack.
- 9. When ready to assemble, prepare the mascarpone topping. In your stand mixer, whisk the mascarpone just until smooth, then add the cream and sugar. Whisk just until mixture has thickened and peaks are firm but spreadable.
- 10. Place cold espresso in a shallow bowl (you can also add a splash of brandy if you like). Dip biscuits one at a time into the coffee (give them 2-3 seconds to absorb the liquid) then arrange in neat rows on top of the brownie. Tip: You may need to break some of the biscuits to fit the gaps as needed. We use whole biscuits on 2 sides of the tin, laying them in 2 rows in the same direction leaving a channel in the middle, then break biscuits in half to fill the gap in the middle, laying the broken biscuits in the same direction as the others.
- 11. Once the dipped biscuits have been arranged on top of the brownie, spoon the whipped mascarpone mixture on top then gently spread the mixture in an even layer from edge to edge with a spatula or large spoon.
- 12. Use a sieve to dust the top generously with cocoa powder then chill in the fridge for about 10 minutes.
- 13. Lift the assembled brownie out of the tin then use a large sharp knife to cut into portions (16 large squares or 18 rectangles). Tip: Clean off the knife after each cut to get neat slices.
- 14. Store in the fridge in a sealed container for 5-7 days, but best to leave slices out at room temperature for about 20 minutes before serving so that the brownie base softens.
