Santa Hat Brownies
Easy
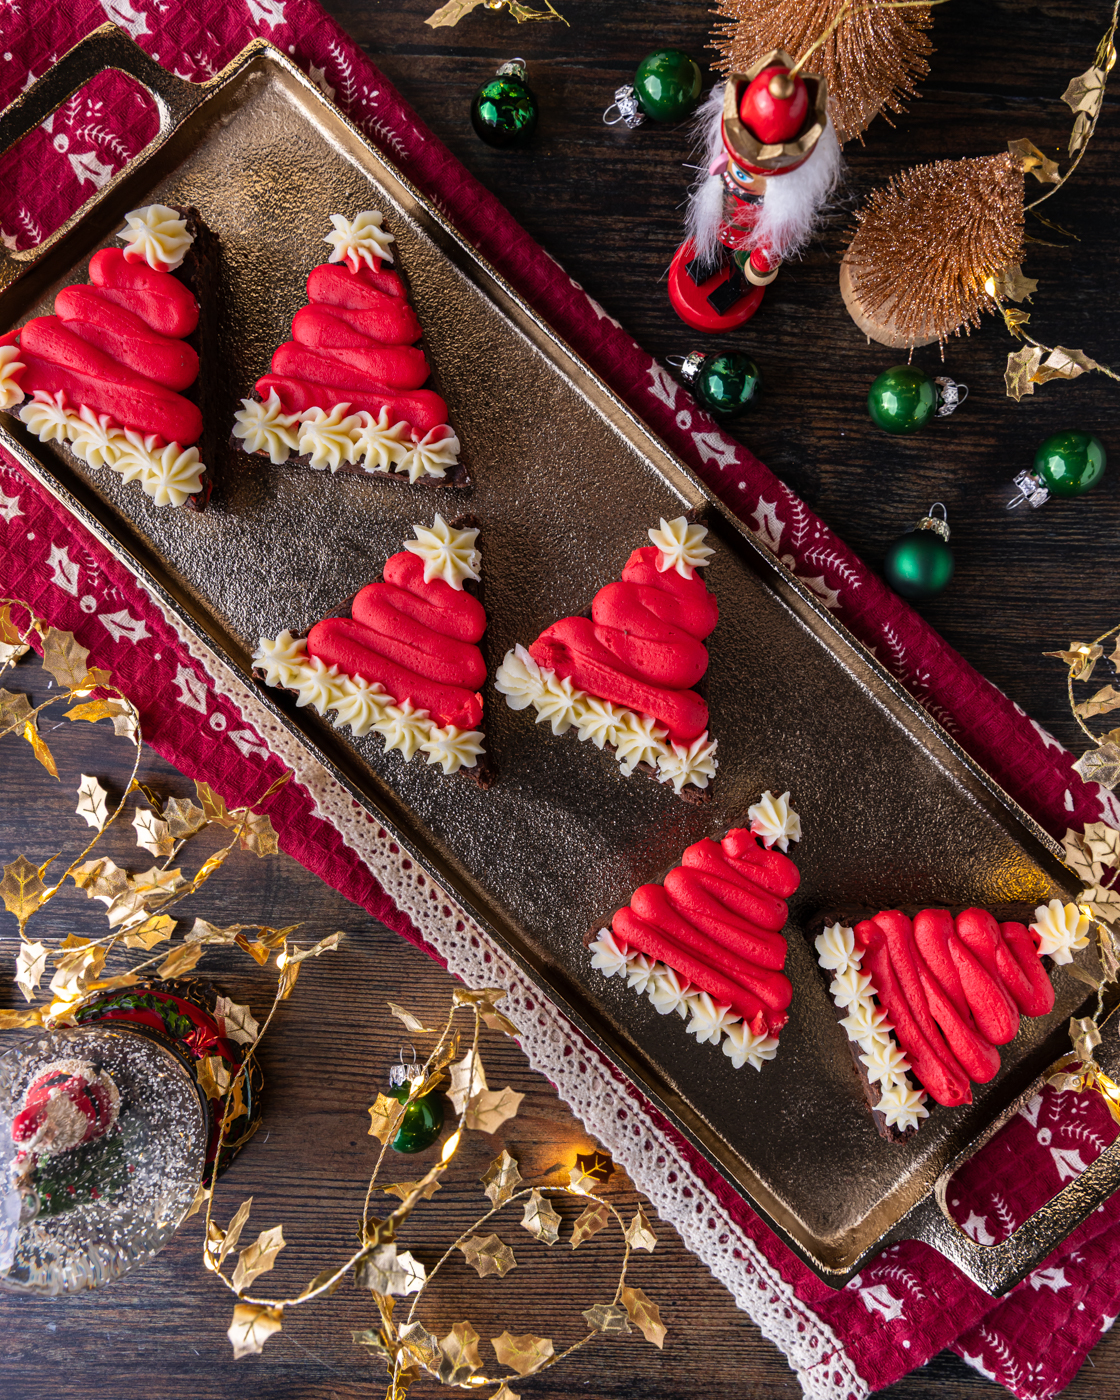
This is a simple little festive twist on delectable brownies. Cut into triangles and decorated with white and red buttercream frosting, you get these cute little Santa hats that are fun to make and delicious to eat!
PREP IN
15 MIN
COOK IN
40 MIN
SERVE
9
Santa Hat Brownies
Easy
PREP IN
15 MIN
COOK IN
40 MIN
SERVE
9
Introduction
This is a simple little festive twist on delectable brownies. Cut into triangles and decorated with white and red buttercream frosting, you get these cute little Santa hats that are fun to make and delicious to eat!
Ingredients
- 115g unsalted butter, cubed
- 225g dark chocolate, roughly chopped
- 150g granulated white sugar
- 50g soft light brown sugar
- 3 eggs
- 1 tsp vanilla extract
- 85g plain flour
- 2 tbsp cocoa powder
- ½ tsp salt
- 200g dark chocolate chips
- For the frosting
- 115g unsalted butter, softened
- 190g icing sugar
- 1 tsp vanilla extract
- Pinch of salt
- 2 tbsp hot water
- Red gel or liquid food colouring
Method
- 1. Pre-heat oven to 180°C / 160°C fan assisted and line a 20x20cm (9x9 inch) square tin with parchment paper.
- 2. Sit a heat-proof bowl over a pot of barely simmering water then place the butter and chocolate into the bowl to gently melt, stirring occasionally.
- 3. Once chocolate and butter are melted together, remove from heat and leave to sit for about 5 minutes to cool slightly.
- 4. Stir in the sugars then whisk in the eggs and vanilla until well mixed.
- 5. Add the flour, cocoa powder and salt and mix with a sturdy spoon until you get a thick batter. Finally, mix in the chocolate chips.
- 6. Spoon batter into the prepared baking tin and spread evenly, levelling the top with the back of a large spoon or spatula.
- 7. Bake in the pre-heated oven until the top looks set and a toothpick comes out with a few wet crumbs, 35-40 minutes.
- 8. Leave to cool in the tin on a wire rack until completely cold.
- 9. To decorate, prepare the buttercream by beating the butter in a bowl on low speed until butter is smooth.
- 10. Add the icing sugar, vanilla, salt, and hot water, then continue to beat until well combined, starting on a low speed then increasing to a medium speed. Tip: If using liquid food colouring, only use 1 tbsp hot water.
- 11. Remove about 1/3 of the buttercream and set aside until needed.
- 12. To the remaining 2/3 buttercream, add a bit of gel or liquid food colouring and mix to combine. Add more colouring, mixing after each addition, until you reach a shade you’re happy with. Tip: Gel colourings sometimes take a bit of time to develop and become more pigmented, so you could add enough to get to a dark pink shade then leave the buttercream to sit, covered with clingfilm to avoid a crust from forming, and assess the colour before decorating, then you can add more if you need to.
- 13. Spoon the uncoloured buttercream into a piping bag fitted with a small star tip, then spoon the red buttercream into another piping bag fitted with a small plain piping tip.
- 14. Remove the brownies from the tin and peel away the parchment paper, then using a large sharp knife, cut the brownie into 3 long pieces. Finally, cut each of the 3 pieces into 5 triangles. Tip: You will have some offcuts that don’t quite make triangles, you can choose to decorate these, or, enjoy with a cup of tea once you’re done!
- 15. Starting with the red buttercream, pipe buttercream in a back-and-forth pattern to cover most of the triangle, leaving the very tip of the triangle and bottom free of frosting. Repeat this until all the triangles are decorated with red frosting.
- 16. To finish with the plain buttercream, pipe a little dab on the tip of the brownie for the pompom on the tip of the hat, then pipe a line of little dabs along the bottom for the white fluffy lining.
- 17. Store in an airtight container at room temperature for 3-4 days, or up to a week in the fridge.