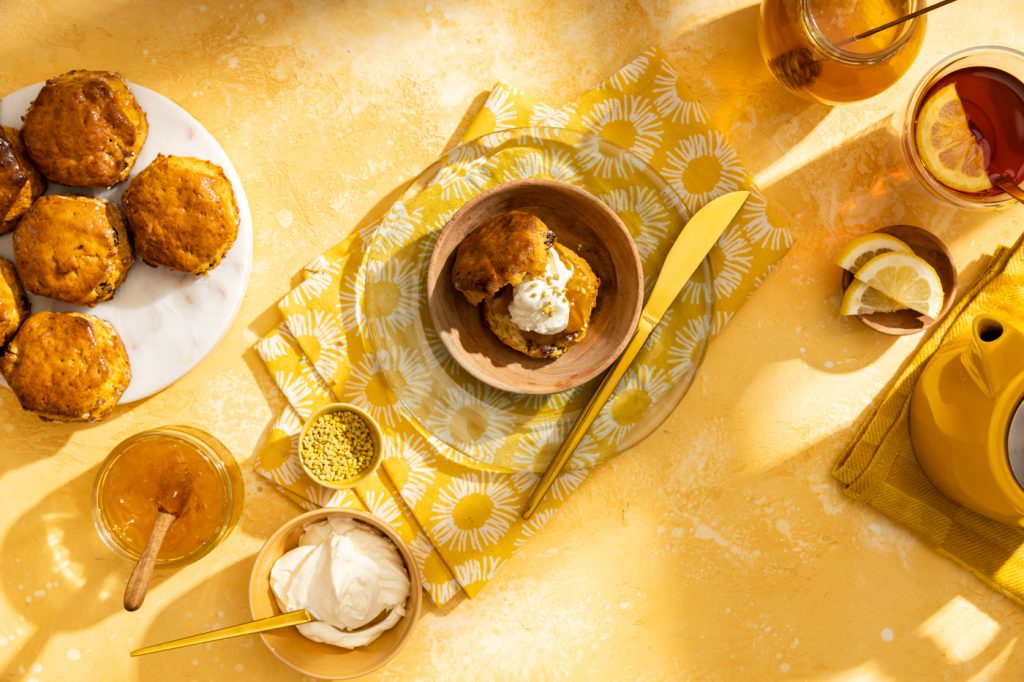
A very simple little flavour addition to the much-loved scone, honey adds a subtle sweetness that is unmistakably richer and a little more complex than regular sugar. It also adds a lovely golden colour to the scone which is revealed when you split one open to dress it with your favourite toppings. My favourite is to enjoy them with nothing more than a dollop of whipped or clotted cream, this lets the honey flavour shine through with every bite. These scones are a little softer on the inside, as I don’t enjoy dry scones, nut my favourite part is the honey glazed top. You can use unsalted butter for the glaze but I prefer regular butter, the subtle saltiness added to the honey is just perfection.
Introduction
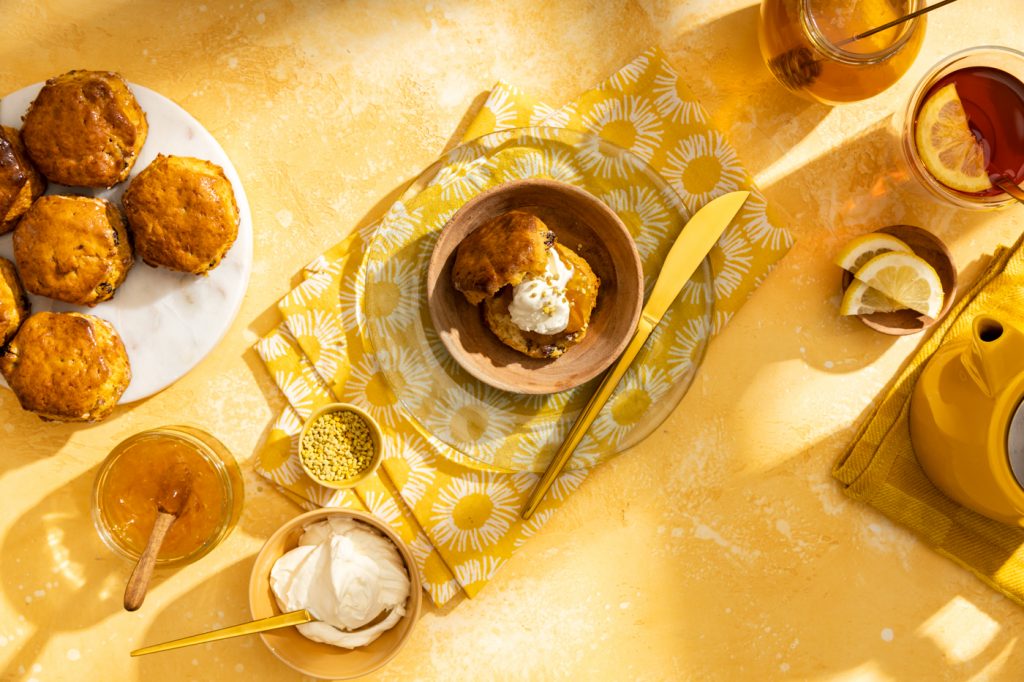
A very simple little flavour addition to the much-loved scone, honey adds a subtle sweetness that is unmistakably richer and a little more complex than regular sugar. It also adds a lovely golden colour to the scone which is revealed when you split one open to dress it with your favourite topping
Ingredients
- 235g self raising flour
- 1 tsp baking powder
- ½ tsp sea salt flakes
- 50g unsalted butter, chilled
- 50g sultanas (optional)
- 3 generous Tbsp honey
- 100ml milk
- 1 large egg
- 30g honey
- 10g butter (salted or unsalted)
FOR THE GLAZE:
Method
- 1. Pre-heat oven to 200°C / 180°C fan assisted and line a large baking tray with parchment paper.
- 2. In a large bowl, whisk together flour, baking powder and salt.
- 3. Cut the chilled butter into small cubes then add to the bowl. Use your fingertips to rub the butter into the dry ingredients until it resembles breadcrumbs.
- 4. Add the sultanas (if using) and toss them through the dry ingredients.
- 5. Add honey to the bowl. In a small bowl or jug, whisk together the milk and egg. Pour about ¾ of the milk and egg mix into the bowl then use a dull knife to mix everything until a soft and slightly sticky dough forms with no dry ingredients left in the bottom of the bowl. Add more of the milk and egg mix if needed.
- 6. Scrape the dough out onto a floured surface. Flour your hands then very lightly fold the dough onto itself 3-4 times just to bring it together. Tip: The dough doesn’t need to be heavily kneaded together, just enough to bring it together, over-kneading leads to heavy and dense scones.
- 7. Flouring your hands if needed, lightly pat the dough out to about a 3cm (1 inch) height. Stamp out 8 scones using a 6cm (2.5 inch) pastry cutter, dip the cutter in flour each time to stop sticking. You may only be able to initially cut out 7 scones. Simply bring the scraps together and very lightly press them together, pat down and cut out the final scone. Tip: Avoid twisting the cutter so that the scones rise evenly; simply push the cutter straight down through the dough, then lift and push the cut dough out with your fingertips.
- 8. Arrange scones with 2-3 fingers of space between them on the prepared baking tray. Bake in pre-heated oven until well risen and the tops are the colour of honey, 17-20 minutes. Tip: They will brown a little quicker because of the honey, you want to catch them before the tops go from a rich brown to dark brown.
- 9. Prepare the glaze when the scones have about 5 minutes left of baking time. Combine honey and butter in small microwave safe bowl. Heat in the microwave until most of the butter has melted, about 10 seconds. Stir together until the residual heat has melted the butter and the glaze is smooth. Tip: You can also melt together in a small pot over medium heat. Set aside until needed.
- 10. Once the scones are out of the oven, brush the tops with the honey glaze. Tip: If you don’t have a pastry brush, you can spoon the glaze over the tops, using the back of the spoon to spread it all over.
- 11. Leave to cool for about 10 minutes then enjoy while still fresh with your favourite scone toppings. Jam first or cream first?
