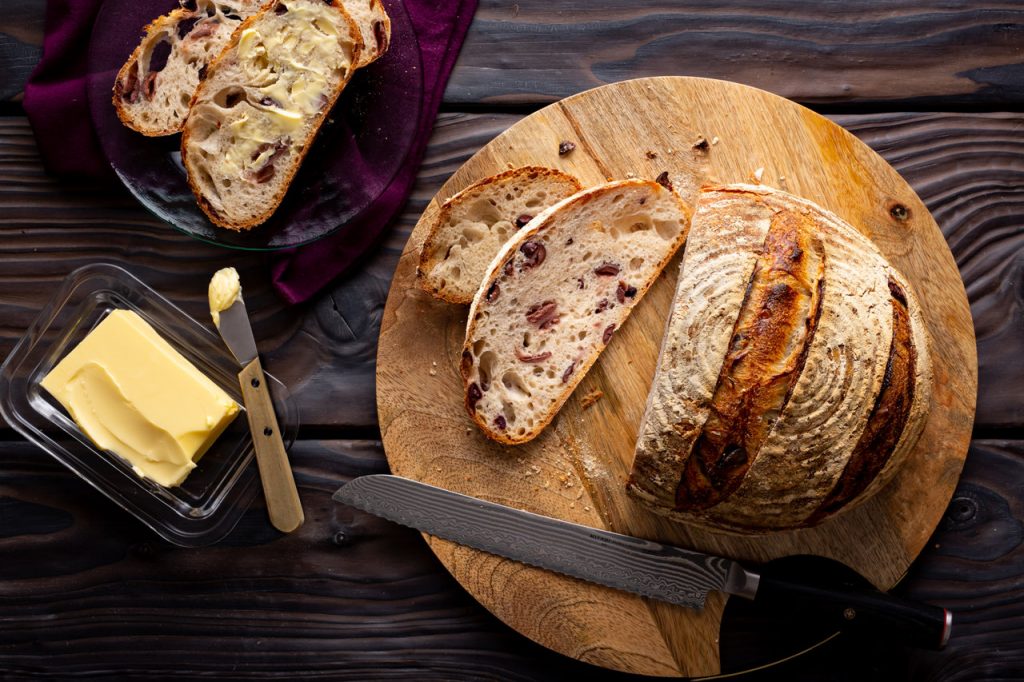
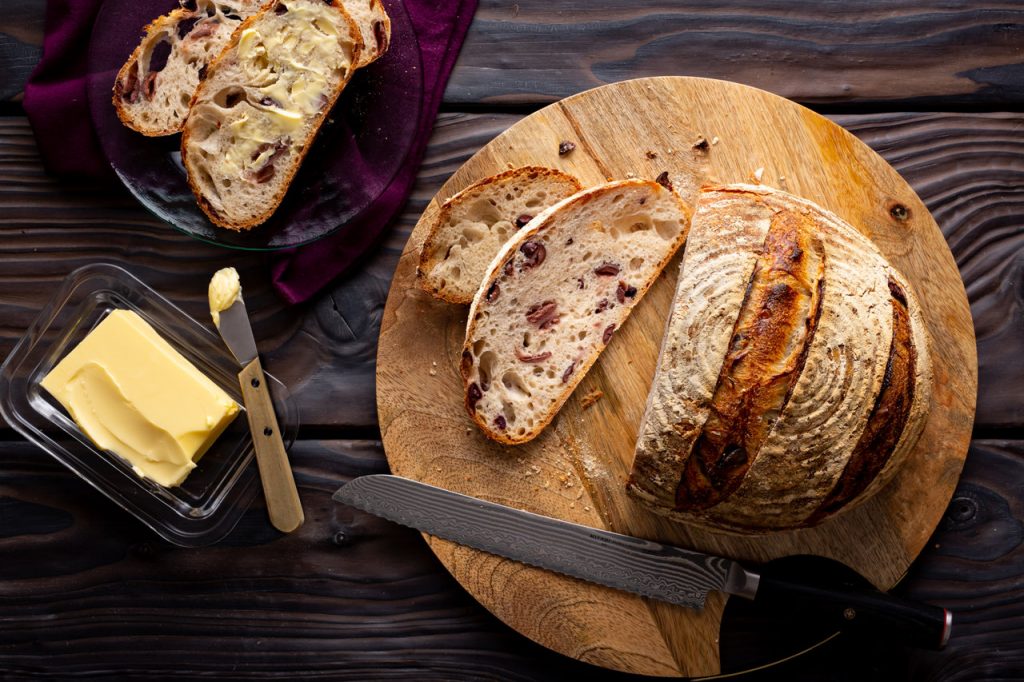
Olive Sourdough Loaf – This is a very simple way to add other flavours to your basic sourdough loaf. We’ve used Patrick Ryan’s basic sourdough loaf recipe and have added juicy, salty & delicious olives. We prefer to use Kalamata olives because they’re less bitter, but if you like black olives you can try those too. And if you don’t like olives at all? How about adding sun-dried tomato instead? This takes your morning toast or lunch-time sandwich to a new tasty level.
Introduction
Olive Sourdough Loaf – This is a very simple way to add other flavours to your basic sourdough loaf. We’ve used Patrick Ryan’s basic sourdough loaf recipe and have added juicy, salty & delicious olives. We prefer to use Kalamata olives because they’re less bitter, but if you like black
Ingredients
- 500g strong (bread) white flour
- 10g salt
- 325g (ml) water
- 150g fed starter (on the rise)
- 120g pitted olives, cut in halves
Method
- 1. Mix together flour and salt in a large bowl, just a quick mix with your hand or dough scraper will do.
- 2. Add the water, starter and olives. Tip: The reason I add the olives now is I find it much easier to distribute evenly through the dough at this stage.
- 3. Kneading Method 1: If using a stand mixer with a dough hook attachment, knead on a low to medium-low speed until dough comes away from the sides of the bowl and is smooth and elastic.
- 4. Kneading Method 2: (This is my preferred method when adding softer inclusions like softer olives, sun-dried tomato, roasted garlic etc.) Mix the ingredients together using a dough scraper, strong spatula or your hand, just until the liquids are mixed in and there is no dry flour visible. If your bowl isn’t large enough to knead in, tip dough out onto a clean surface. Knead dough for about 10 seconds, (return to bowl if you need to) then leave to rest at room temperature for 10 minutes (you can just drape a kitchen towel over the top).
- 5. Knead again for another 10 seconds (the dough will be less sticky this time) and leave to rest again for 10 minutes.
- 6. Knead one more time for 10-15 seconds (the dough shouldn’t be sticky after this kneading, but if it is, you can rest again and do 1 more kneading).
- 7. 1st Proofing:
- 8. Place dough in an oiled bowl, cover with a clean kitchen tea towel or similar then leave to prove until roughly double in size. Tip: At a room temperature of about 17-18°C, this can take 8 hours. At a temperature of 27°C (eg. using a heated proofing box or somewhere nice and hot) it will take about 4 hours.
- 9. Knocking back & shaping:
- 10. Turn dough out onto a very lightly floured surface, flour your hands if you need to, then simply fold the dough on itself, left to right, top to bottom. The folding and handling will knock the dough back (which is simply deflating it back down almost to where it started before proving.)
- 11. Form into a ball shape by taking an edge and bringing it into the centre, until you’ve worked your way around and have a neat ball shape.
- 12. Turn the ball over so the smooth side is now on top and move to an area of your counter where there isn’t any flour so that the dough can grip the surface. Tighten the ball by cupping the dough with your two hands and dragging it towards yourself. Rotate by a quarter turn, then repeat; cupping and dragging. Do this a total of 4-5 times. Each time you drag it, you’ll feel the surface of the ball become tighter.
- 13. 2nd Proofing:
- 14. Generously flour a proofing basket (or dust a clean kitchen cloth sitting in a bowl or pot) then place the ball seam-side up into the basket.
- 15. Cover the top with a clean kitchen towel and leave to prove again until roughly doubled in size. Tip: At a room temperature of about 17-18°C, this can take up to 3 hours. At a temperature of 27°C (eg. Using a heated proofing box or somewhere nice and hot) it will take between 1 hour to 1 hour 30 minutes. You can also leave to slowly prove overnight in the fridge for 8-12 hours.
- 16. To Bake: Pre-heat oven to 250°C/230°C fan assisted/gas 8.
- 17. Once oven is at temperature, turn the dough out from the proofing basket onto a flour-dusted baking tray seam-side down (try not to let it drop from a height, you want to keep as much air in there as possible). Score the top of the bread with a sharp straight-edged knife or scoring blade. Tip: Scoring allows the bread to stretch and rise a little more in the oven in a controlled way, and it looks nice. For a rustic look, you could leave the dough seam-side up and it will tear naturally.
- 18. Method 1, Steaming the Oven: Place a shallow baking tray into the bottom of the oven to pre-heat with the oven. Boil a kettle of water then pour the water into the pre-heated dish to create steam in the oven. Quickly place the bread in the oven and bake for 30-35 minutes, until a nice dark crust has formed and the loaf sounds hollow when you tap the underside.
- 19. Method 2, Baking in a Pyrex “Dutch Oven”: (This is my favourite method, I get a much better rise using my casserole dish as a Dutch oven. I use a 2.5l round glass oven-safe casserole dish) The lid (with no handle on top) becomes the base of the Dutch oven, so turn out the dough into the lid. Score the top as outlined above.
- 20. Use the bowl or base of the casserole dish as the new lid and place it on top. Place in the pre-heated oven and bake for 35-40 minutes. Tip: If you prefer a thicker crust, bake for less 35 minutes, for a slightly less thick crust, 40 minutes.
- 21. Remove the top of the casserole dish and continue to bake for 10-15 minutes (10 if you baked for 40 initially, 15 if you baked for 35).
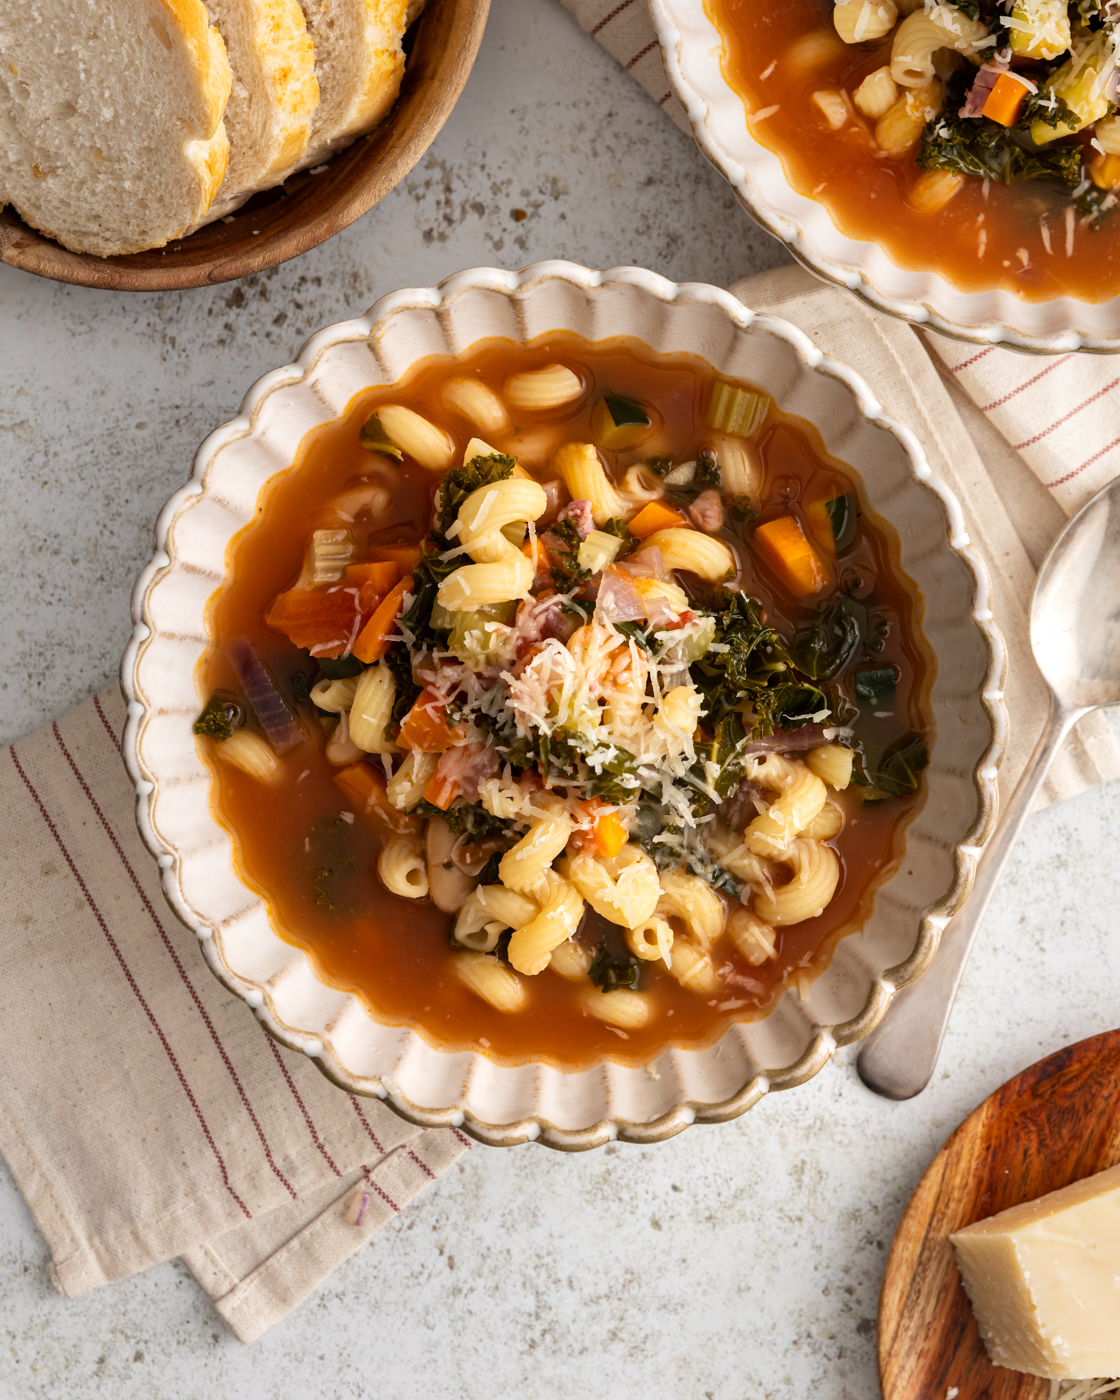
- 22. Remove from oven and transfer bread to a wire cooling rack. Try resists cutting into to it until it’s cooled a bit, then enjoy your olive-studded sourdough with soup, as a sandwich, or even just plain.


