Love Heart Cookies with White Chocolate
Easy
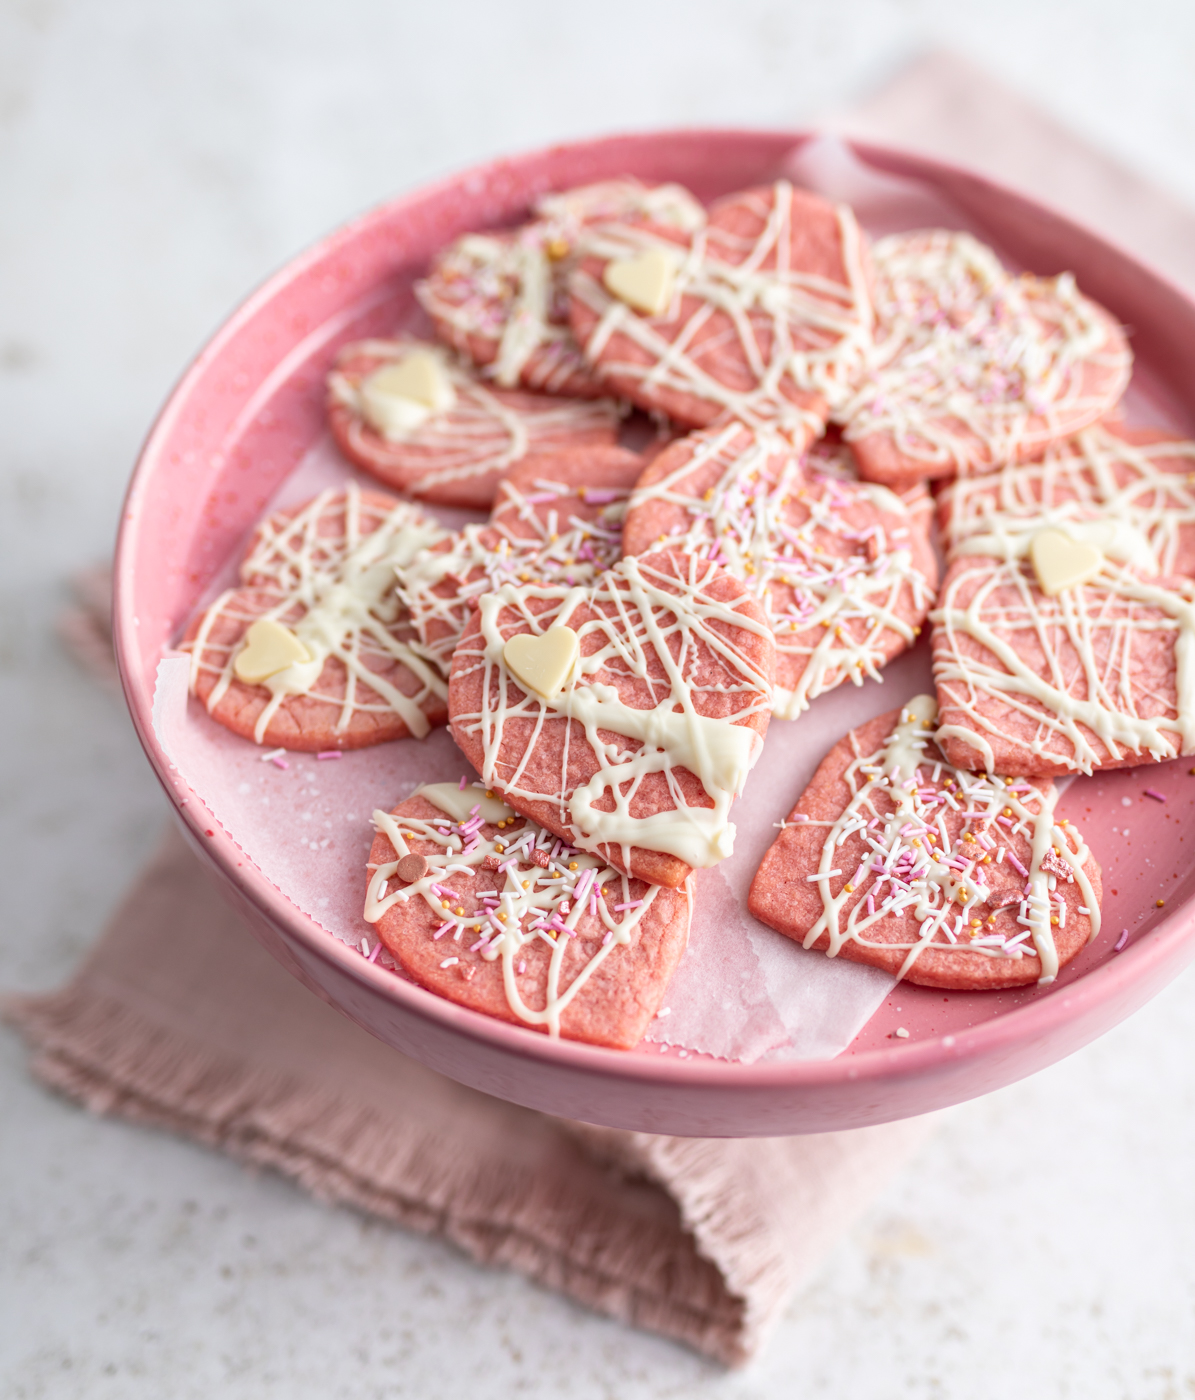
These gorgeous pink love hearts have a delicate crumb that melts in the mouth and is flavoured with fragrant vanilla. They’re finished with a generous drizzling of creamy white chocolate for love-filled cookies that are a perfect gift. The cookie dough needs to be set in the fridge overnight so make sure to give yourself enough time to make these.
PREP IN
20 MIN
COOK IN
8 MIN
SERVE
36
Love Heart Cookies with White Chocolate
Easy
PREP IN
20 MIN
COOK IN
8 MIN
SERVE
36
Introduction
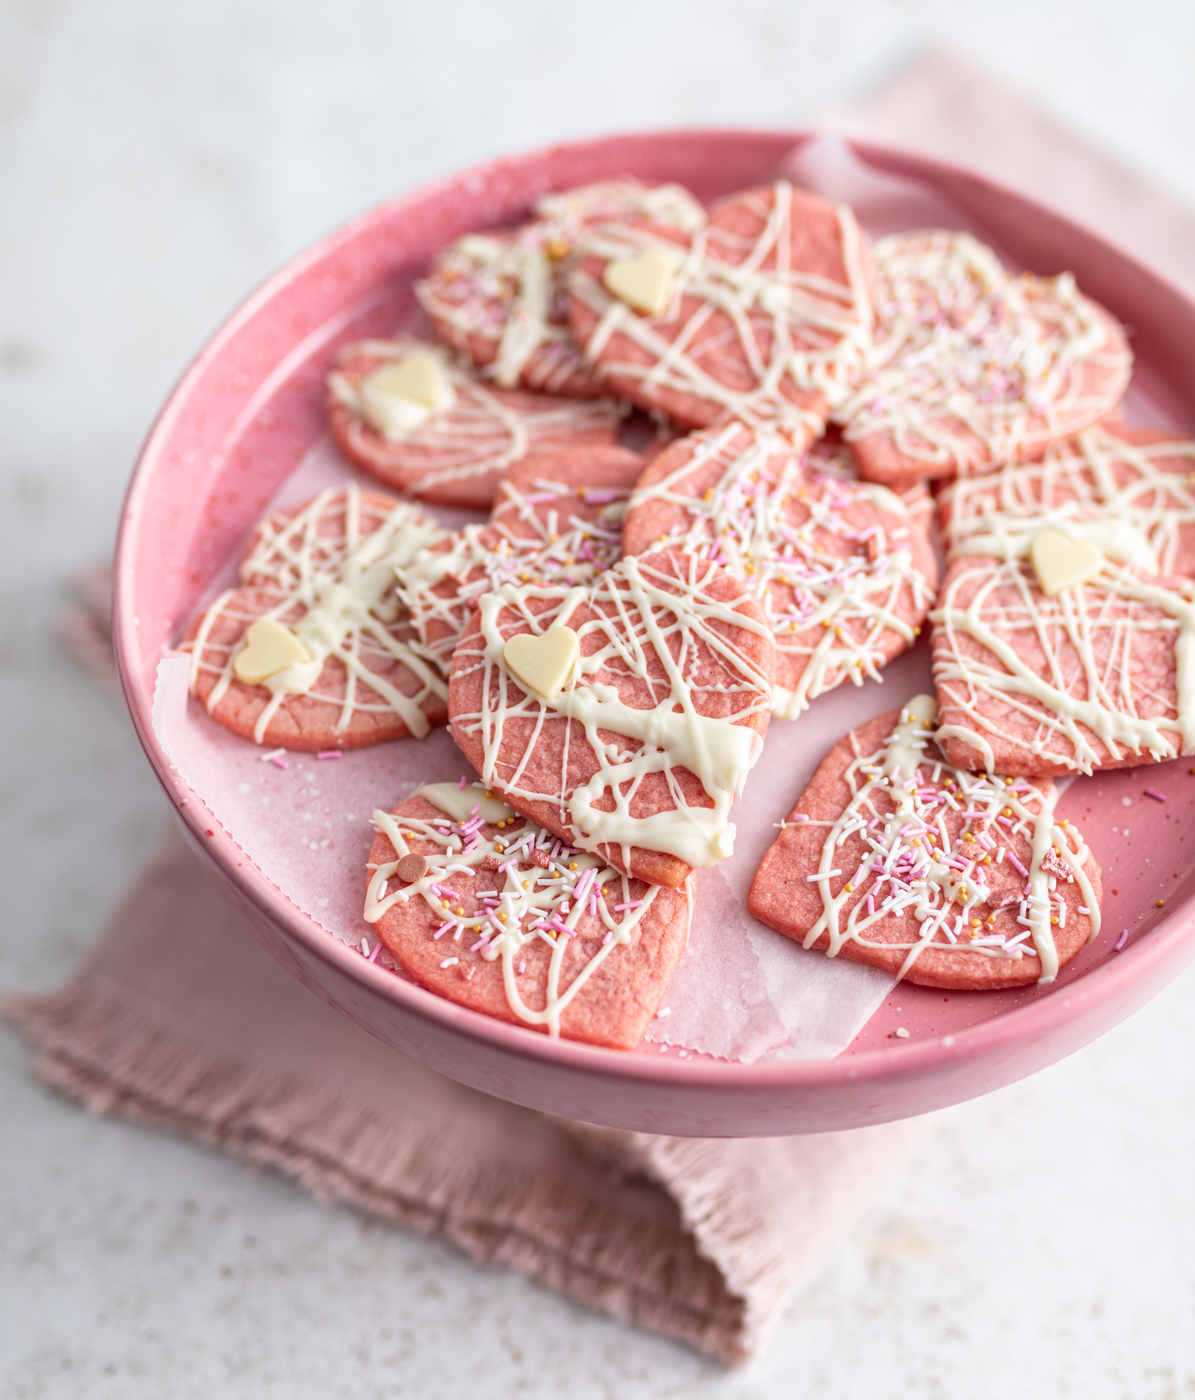
These gorgeous pink love hearts have a delicate crumb that melts in the mouth and is flavoured with fragrant vanilla. They’re finished with a generous drizzling of creamy white chocolate for love-filled cookies that are a perfect gift. The cookie dough needs to be set in the fridge overnight so m
READ MORE
Ingredients
- 375g plain flour
- ¾ tsp baking powder
- ½ tsp salt
- 225g unsalted butter, softened
- 225g sugar
- 1 egg, beaten
- 1 tbsp milk
- 1 tsp vanilla bean paste or extract
- 1 tsp pink gel food colouring
- Icing sugar, for rolling out dough
- 200g white chocolate, roughly chopped
- Sprinkles, optional
Method
- 1. Whisk together the flour, baking powder and salt in a small bowl. Set aside.
- 2. Place butter and sugar in a large bowl or bowl of your stand mixer then cream together.
- 3. Add the egg, milk, vanilla and food colouring, then beat until well combined. Tip: The colour will lighten as it bakes, as seen in the photo, but if you want a lighter shade of pink, use ½ - ¾ tsp gel food colouring.
- 4. While mixing on low speed, slowly add the flour, mix until there is no more dry flour visible and you have a soft but not sticky dough.
- 5. Divide the dough in half and shape each into a thick disc. Wrap each portion of dough then chill for at least 2 hours, but can be left overnight.
- 6. Pre-heat oven to 190°C / 170°C fan assisted and line large baking trays with parchment paper.
- 7. Sprinkle a clean work surface and rolling pin with icing sugar, then roll out a portion of chilled dough to about 5mm thick (leaving the other portion chilling in the fridge). Tip: Move the dough frequently, dusting with more icing sugar as needed, to prevent the dough from sticking.
- 8. Using a heart-shaped cookie cutter, stamp out the cookies and transfer these to the prepared baking trays leaving 2-3 cm between them. Bring the scraps together, wrap and leave in the fridge until needed.
- 9. Repeat rolling and cutting with the second portion of chilled dough, then combine the scraps with the reserved scraps, re-roll and cut out shapes, until all of the dough has been used.
- 10. Bake in the pre-heated oven until cookies are set around the edges but not taking on any colour, about 7-8 minutes. Tip: Leave any unbaked trays of biscuits in the fridge to chill while baking in batches
- 11. Leave biscuits to cool on the baking tray for a few minutes before carefully transferring to a wire rack to cool completely.
- 12. To decorate, place ¾ of the chopped chocolate in a heat resistant bowl. Place the bowl over a pot of steaming water and allow to melt halfway. Remove chocolate from the steaming pot and add the remaining chocolate then stir well with dry spatula until all of the chocolate has melted. Tip: You can return the bowl to sit over the steam for 10-15 seconds at a time if cooling too quickly and not yet fully melted.
- 13. You can also melt in the microwave by placing ¾ of the chocolate in a microwave safe bowl and giving it 30-40 second bursts in the microwave until half melted, then adding the remaining chocolate and stirring with a spatula until completely melted. The residual heat from the bowl should continue to melt the chocolate.
- 14. Line the cookies up on pieces of parchment paper then use a spoon or fork to drizzle the melted chocolate over the cookies in any manner you fancy.
- 15. Decorate with sprinkles, if using, while the chocolate is still wet, then leave until chocolate has set completely.
- 16. Store at room temperature in airtight containers for up to 7 days.
