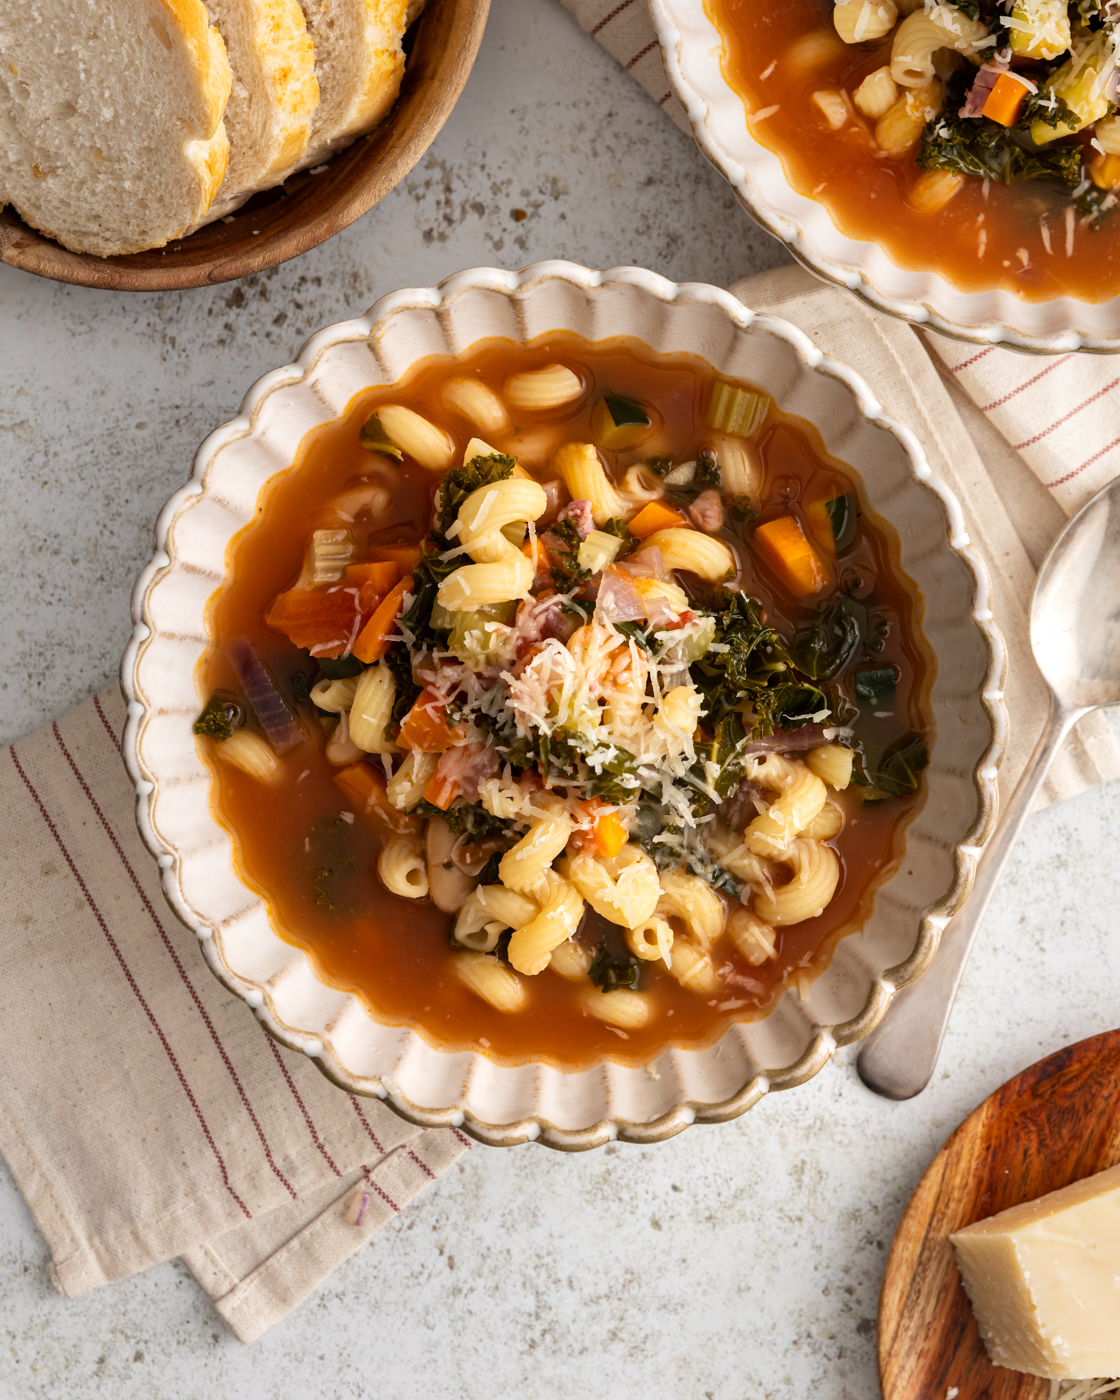
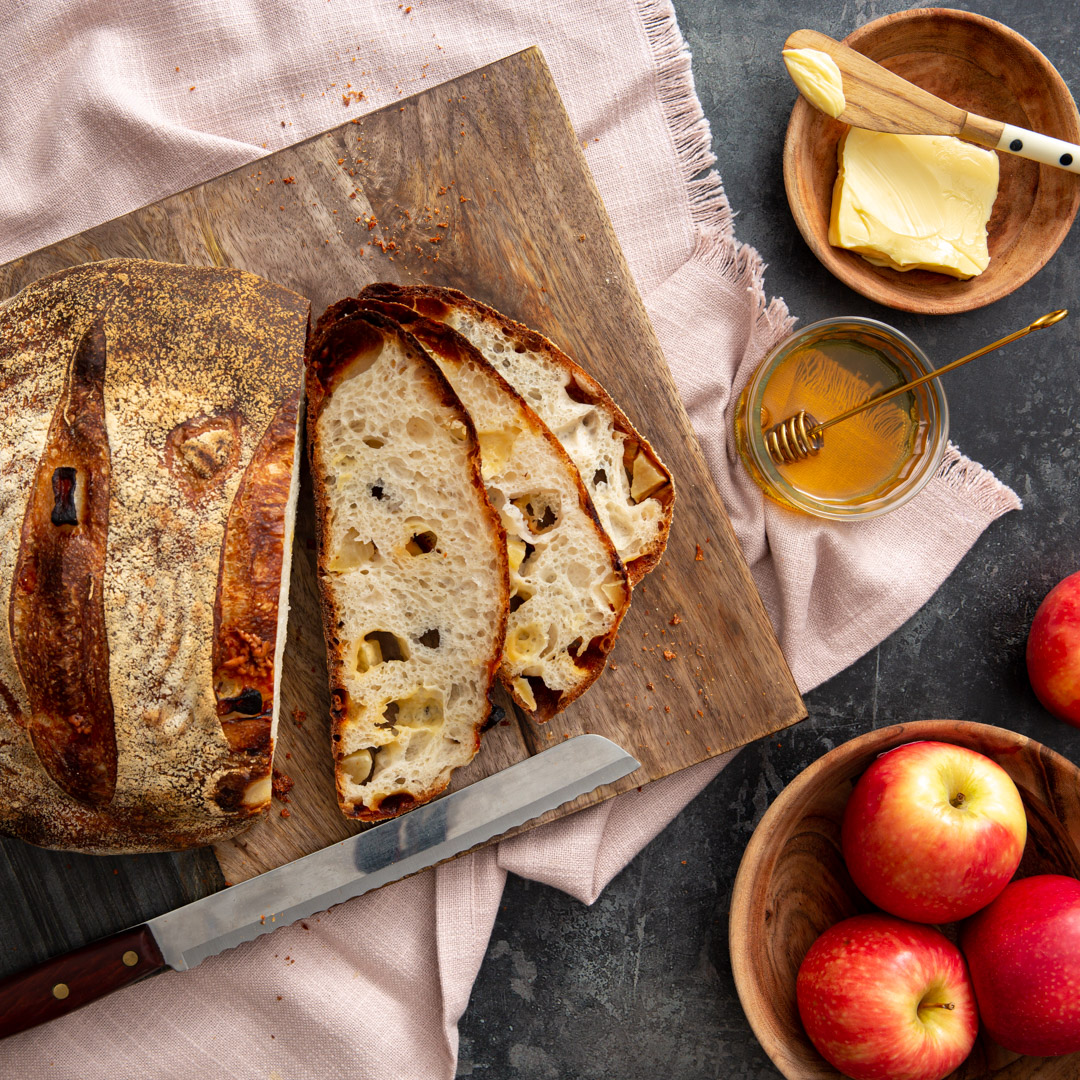
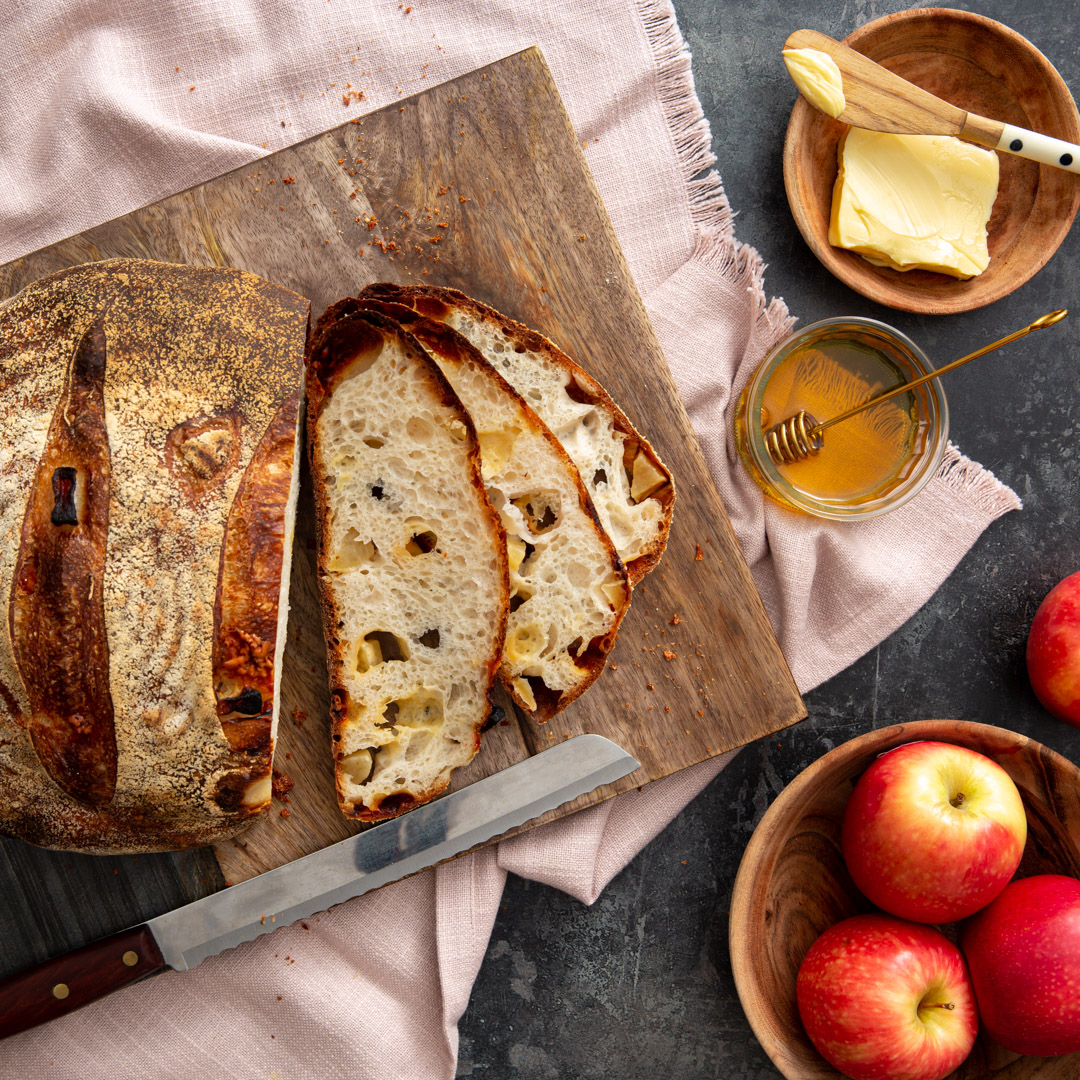
Pink Lady® Apple & Cheddar Sourdough The combination of apple and cheese in this loaf makes this bread perfect for serving with charcuterie boards. Salty meats pair well with the cheese-laden slices and the occasional little bites of sweetness from delicious apple. This bread is also delicious simply served with a little butter or honey, and it’s gorgeous when dunked into soups like carrot and ginger or ham and pea. If you’re new to sourdough baking and you haven’t yet added any inclusions to your breads, this is a slightly more involved process but we’ve kept it as simple as possible and promise that it’s easier than it may seem. The important thing is to set timers to remind you to move on to the next step!
Introduction
Pink Lady® Apple & Cheddar Sourdough The combination of apple and cheese in this loaf makes this bread perfect for serving with charcuterie boards. Salty meats pair well with the cheese-laden slices and the occasional little bites of sweetness from delicious apple. This bread is also deliciou
Ingredients
- 400g strong white flour
- 260g water
- 120g active starter (on the rise)
- 1 tsp salt
- 2 Pink Lady apples
- 100g mature white cheddar
Method
- 1. Step 1: In a large bowl combine the flour and water. Knead together (by hand or with a dough hook in a stand mixer) until you get a sticky and shaggy dough and there is no dry flour in the bowl. Tip: This is just a quick knead to combine the two ingredients. Cover the bowl with a clean tea towel and leave to sit at room temperature for 30 minutes (this is the autolyse step). Tip: Set a timer so you don’t forget your dough!
- 2. Step 2: Once the 20 minutes are up, add the active starter to one side of the bowl and the salt to the other. If mixing by hand, knead together for 6-8 minutes, if using a stand mixer with dough hook, knead on a medium low speed for about 5 minutes. Tip: The dough will be very sticky and wet, do not add any more flour, this is exactly as it should be! Transfer dough to a well-oiled bowl, then cover the bowl and leave to stand and start to prove at room temperature for 30-45 minutes (30 minutes if making in a warmer room, 20°C or more, 45 minutes if cooler). Set your timer to remind you!
- 3. Step 3: Once the timer has gone, we’re going to start adding the cheese and apple. Cut half of the cheese into small 1.5 – 2cm cubes. Peel one of the apples, remove the core and cut into 1.5-2cm cubes. Set to one side. Lightly dust a clean surface with flour. Turn out the dough onto the floured surface, a flexible dough scraper makes this easy. Oil your hands so that the dough doesn’t stick to you and gently start to stretch the dough out into a rectangle, roughly 20x30cm (it doesn’t have to be perfect!) Scatter the cheese and apple cubes over the bread from edge to edge. Fold the dough up in thirds like a letter; bottom third up, then top third down, then fold up the left and right sides so you have a lovely little dough parcel. Spread a bit more oil around your bowl and place the dough back in the bowl. Cover and prove again for 30-45 minutes at room temperature.
- 4. Step 4: Once your timer’s gone again, cut the remaining cheese into 1.5-2cm cubes. Peel and remove the core from the second apple and cut into 1.5-2cm cubes. Set aside. Turn the dough out onto a lightly floured surface and oil your hands. Again, gently stretch the dough out to a rectangle roughly 20x30cm in size. Scatter over the cheese and apple and fold up again as you did the first time so you have a dough parcel filled with cheese and apple. Oil the bowl again and return the dough to it. Cover and prove for 1 ½ - 2 hours at room temperature.
- 5. Step 5: After the longer prove, turn the dough out onto a lightly floured surface. Gently shape the dough into a ball, this process will knock the dough back, then tighten the surface of the ball by placing the dough on a surface not dusted with flour so that it grips the table, then cupping the dough with your hands and pulling it towards yourself. It will start to lift a bit as you’re pulling it in, so lift and rotate the ball 90°, then again cupping it and pulling towards yourself. Repeat this another 2 or 3 times. Place the dough in a well-floured 20cm (8inch) round proving basket or similarly sized bowl upside down so that the seam is facing up. Tip: I would recommend lining the basket or bowl with a clean tea towel or fabric basket liner and dusting that with flour, as the apple adds a lot of moisture to the dough and this can cause some of the dough to stick when trying to turn it out. Lightly dust the dough then cover and leave to prove overnight in the fridge.
- 6. Step 6: The next morning, pre-heat oven to 250°C / 230°C fan assisted / gas 8. - If baking without a Dutch oven: Place a roasting tray on the lowest shelf to pre-heat and get a kettle of water on the go so that it’s boiling when needed. Once the oven is hot, turn dough out from the proving basket (directly from the fridge) onto a flour-dusted baking tray seam-side down. Score the top of the bread with a sharp straight-edged knife or scoring blade. Place tray with bread into the oven and pour the boiling water into the pre-heated baking tray on the lower shelf, there will be a blast of steam so be mindful of that when pouring the water. Bake for 30-35 minutes. The bread should sound hollow when you tap the underside. - If baking in a Dutch oven (we like using a 2.5l Pyrex casserole dish for this, using the lid as the base): Turn the dough out into the floured base of the Dutch oven seam-side down. Score the top of the bread with a sharp straight-edged knife or scoring blade. Cover with lid of Dutch oven and transfer to oven. Bake for 40 minutes, then remove the top of the Dutch oven and bake for a further 10-15 minutes. The bread should sound hollow when you tap the underside. Transfer baked bread to a wire rack to cool.


