100% Rye Sourdough
Intermed..
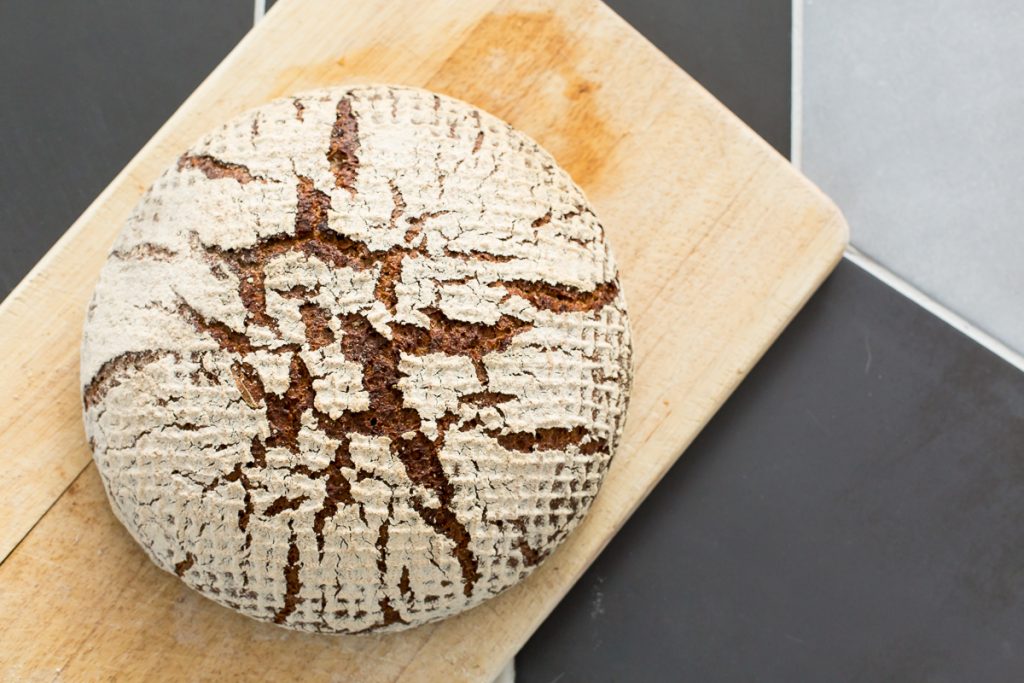
100% Rye Sourdough A rye sourdough starter is the same as one made with wholemeal or white flour, the only difference is that it’s started with, fed and refreshed with rye flour only. It’s a lovely flour to work with and it tends to make a more active starter which gives lovely complex flavours to your bread. Watch Patrick’s tutorial here.
100% Rye Sourdough
Intermed..
Introduction
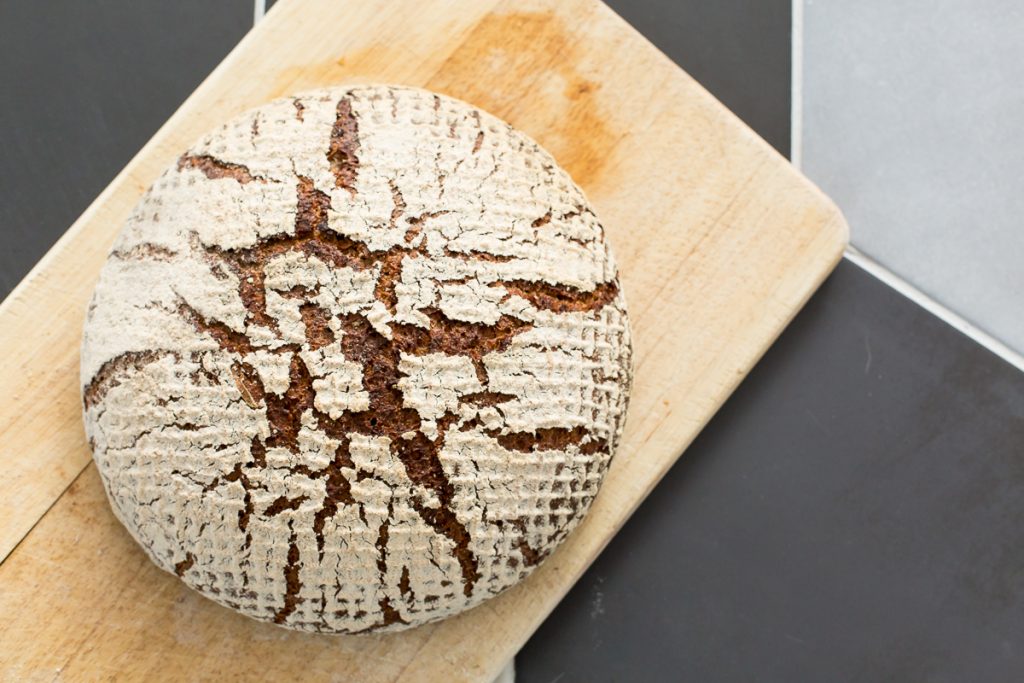
100% Rye Sourdough A rye sourdough starter is the same as one made with wholemeal or white flour, the only difference is that it’s started with, fed and refreshed with rye flour only. It’s a lovely flour to work with and it tends to make a more active starter which gives lovely complex flavours t
READ MORE
Ingredients
- 500g rye flour
- 10g salt
- 350g rye sourdough starter
- 360ml water
Method
- 1. Add the rye flour to a clean mixing bowl. Mix the salt through the flour. Add the water and sourdough starter to the flour. Combine all the ingredients together to form a rough dough. You may feel when you bring the dough together that something isn’t right because it doesn’t have the feel that regular bread or sourdoughs have. But don’t worry, that’s just the nature of rye flour, so although it feels like a thick and heavy paste, that’s exactly what you’re looking for. Tip: Your sourdough starter should have been fed the day before so that it’s active, bubbling & rising in its container on the day you bake with it.
- 2. Turn the dough out onto a clean work surface. Stretch and fold the dough to work the flour in using your fingertips. You won’t be able to knead it in the same way as rye flour is very low in gluten, and gluten is what gives the dough elasticity. Do this for a couple of minutes. Tip: Use a bench scraper to easily help keep the dough together.
- 3. First proving:
- 4. Shape the dough into a rough ball shape and return the dough to the mixing bowl (which you can lightly grease with a bit of oil to help remove the dough later), cover with cling film and allow the dough to prove for approximately 2 ½ hours at room temperature.
- 5. After 2 ½ hours turn the dough onto a work surface lightly floured with rye flour and knock the dough back. Tip: Again, this dough will feel very different when you knock it back. It will crack and break, so you simply just want to reshape it into a rough round shape.
- 6. Shaping & second proof:
- 7. Roughly knead the dough and shape into a ball. Place the shaped dough into a proving basket dusted with flour. Or alternatively a bowl lined with a flour-dusted tea towel will work fine (without the cloth, your loaf will stick in the bowl and you won't be able to turn it out).
- 8. Tip: The reason for using a bowl is that it acts like a proving basket. The dish acts as a support to your dough. It encourages the dough the take on the shape of the dish and to prove up and not just to spread out flat. Leave to prove for about 2 hours at room temperature.
- 9. Tip: Sourdough normally benefits from proving over longer periods in the fridge, but I find that rye sourdough is better when it’s baked on the same day.
- 10. Preheat your oven to 230°C/210°C fan assisted and place a baking tray in the bottom of the oven.
- 11. Turn the sourdough dough loaf out on to a floured baking tray. Leave the dough to sit for about 5 minutes so that it spreads slightly and cracks start to appear on the surface. This is a classic characteristic of rye sourdoughs.
- 12. Put into the preheated oven. To create steam in the oven, in the preheated baking tray in the base of the oven add a handful of throwing ice cubes or pour in some water from a boiled kettle. This will release a blast of steam into the oven.
- 13. Bake for 45 - 50 minutes. Remove from oven and leave to cool. You won’t see a big jump in the oven, but it will rise and spread slightly which creates a very close textured bread.
- 14. Because of the nature of rye flour, sometimes once baked the bread can feel a bit gummy, so it actually benefits from sitting or ripening for a day before cutting. This makes it ideal for baking in the evening and then leaving to sit overnight before eating.
